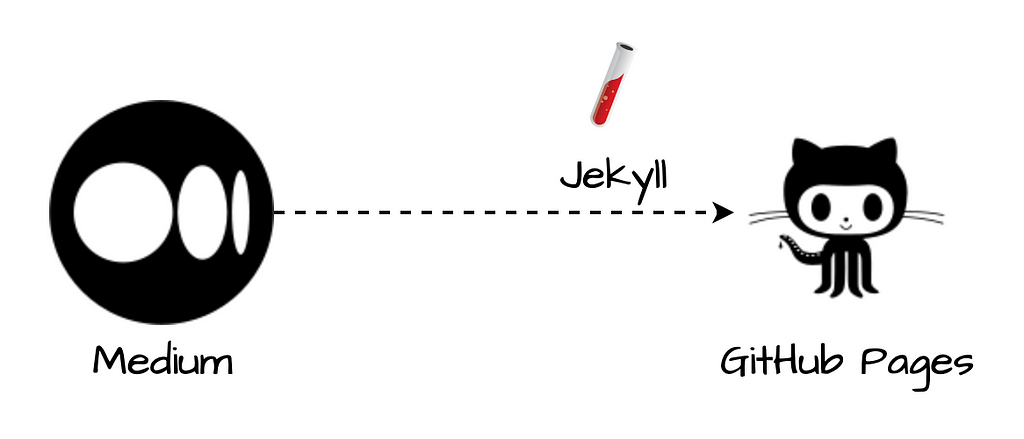
I enjoy blogging about my experiences. I create and publish blogs on Medium because it has a nice user interface, statistics, opportunities to engage with the community, and so on. But, like many other developers, I preferred to have my own website for the same purpose. However, there are two major issues: first, having a personal domain comes at a cost, and second, keeping the website and medium in sync.
The first issue is easily solved by GitHub pages, which offer a simple way to create a personal website for free. GitHub Pages also supports Jekyll, which allows me to create static websites from plain text. To make my own website, I followed the GitHub documentation.
The second issue is a little more difficult to resolve because I don’t want to copy and paste all of the old Medium articles on GitHub pages. That means I’ll need a framework to automatically import all of my previous Medium articles to GitHub pages. Here comes Jekyll import to the rescue.
Import Medium articles using RSS feed
Medium has an RSS feed, and I was able to import all of my Medium articles to my Jekyll-powered website using the Jekyll RSS feed importer.
To use the RSS feed importer, I needed to add the following two gems to the Gemfile —
gem "jekyll-import", "~> 0.21.0"
gem "rss", "~> 0.2.9"
After making the changes listed above, run the following commands to import medium posts —
bundle update && bundle install
curl https://medium.com/feed/<medium username> > .rss.xml
bundle exec jekyll import rss --source .rss.xml
After running the above commands, I was able to see all of my Medium articles on the GitHub page. However, with the default Jekyll RSS feed importer, I encountered the following issue —
- Tags are not automatically imported.
- There is no reference to the original medium post.
- Importing RSS feeds requires a local RSS file.
To resolve the mentioned issues, I had to fork the original Jekyll importer repository and make the necessary changes.
To use my forked Jekyll importer, I replaced the default Jekyll import gem in Gemfile with the custom one.
gem "jekyll-import", git: "https://github.com/sumanmaity112/jekyll-import.git"
After making the above changes, run the following commands to re-import medium posts —
bundle update && bundle install
bundle exec jekyll import rss \
--source https://medium.com/feed/<medium username> \
--canonical_link true \
--extract_tags category
All of my articles were properly imported and had the appropriate tags attached.
My articles were properly imported using the custom RSS feed importer, but I thought it was overly verbose. As a result, I created the Medium importer, which allows me to import articles simply by username.
bundle exec jekyll import medium \
--username <medium username>
The medium articles were properly imported after all of the above changes. The issue arises when a new article is published on Medium. I had to re-run the command to import the new article, which I found tedious. So I automated it with GitHub actions.
Automate import process
To make the process automated, I had to create a personal access token with code access and store it in GitHub secrets. Then include the following workflow —
name: "Import from Medium"
on:
  schedule:
    - cron: '0 6 * * *'
  workflow_dispatch:

jobs:
  import:
    runs-on: ubuntu-latest

    steps:
      - name: Checkout local repository
        uses: actions/checkout@v3
        with:
          fetch-depth: 0
          token: $

      - name: Setup Ruby
        uses: ruby/setup-ruby@v1
        with:
          ruby-version: 3
          bundler-cache: true

      - name: Import blogs from medium
        run: bundle exec jekyll import medium --username <medium username>

      - name: Commit and push imported blogs
        run: |
          git add _posts
          if ! (git diff --staged --quiet --exit-code); then
              git config --global user.name "GitHub Actions"
              git commit -m 'Import blogs from medium'
          fi
          git push origin main
This workflow runs every day at 6 a.m. UTC, so if a new article becomes available, it will import it automatically.
Final Thoughts
I was able to create a beautiful website for myself using GitHub pages and the Jekyll and Jekyll Chirpy themes.
If you want to look at the improved Jekyll importer code, you can find it here.
PS: I hope you’ve enjoyed it, and if you’ve found it useful, please feel free to share it with others or leave a comment 😄.
Originally posted on medium.com.